Struggling to streamline your IT service requests? ClickUp's IT Service Request Form Template is here to save the day! This template is designed to help IT support teams centralize requests, ensuring nothing falls through the cracks. With this template, you can:
Get your IT department running like a well-oiled machine—try ClickUp's IT Service Request Form Template today!
IT Service Request Form Template streamlines the IT service request process, ensuring efficiency and accuracy. By using this template, you can benefit from:
To streamline IT service requests, ClickUp's IT Service Request Form Template includes:
Crafting an IT Service Request Form doesn't have to be a hassle. By following these five simple steps using ClickUp's powerful tools, you can streamline the process and ensure all IT service requests are handled efficiently:
Begin by outlining the different categories of IT service requests you anticipate receiving. These could include hardware issues, software installations, network problems, or account access requests.
Utilize Custom Fields in ClickUp to categorize each request and ensure they are directed to the appropriate IT team member.
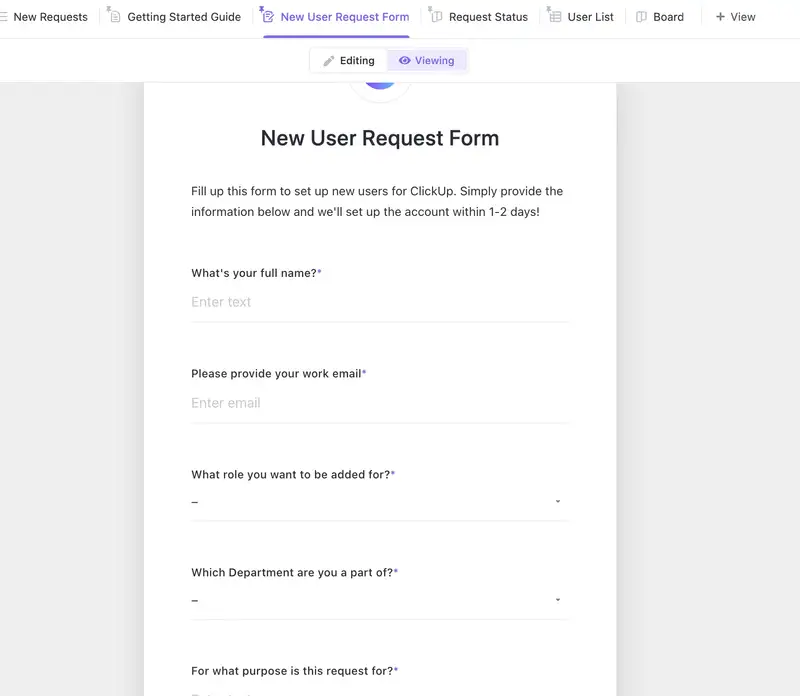
Next, create a user-friendly form that captures all necessary information from requesters. Ensure that the form is clear, concise, and easy to navigate to avoid any confusion.
Use Docs in ClickUp to design the layout and structure of your IT Service Request Form, making it simple for users to submit their requests.
Establish a clear approval process for IT service requests to ensure that they are reviewed and authorized by the appropriate personnel before work begins. This could involve manager approvals, budget sign-offs, or technical assessments.
Set up Automations in ClickUp to notify designated approvers when a new IT service request is submitted and trigger the approval workflow.
Upon approval, it's crucial to assign requests to the right IT team members promptly. Prioritize requests based on urgency, impact on operations, or any service level agreements in place.
Utilize the Workload view in ClickUp to assign requests based on team capacity and workload, ensuring efficient task distribution.
Keep requesters informed about the status of their IT service requests. Regular updates on progress, estimated completion times, and any roadblocks encountered can help manage expectations and increase user satisfaction.
Utilize Dashboards in ClickUp to track the progress of all IT service requests, monitor team performance, and generate reports on request resolution times and trends.
By following these steps, you can seamlessly manage IT service requests, enhance communication, and ensure timely resolution of all IT-related issues within your organization.
IT support teams can utilize the IT Service Request Form Template in ClickUp to streamline the process of requesting IT services within organizations.
To get started, follow these steps: