Something that has helped me out has been creating systems. Systems that can guide you from horrible to amazing settings.
This guide I have put together is built for everyone. It works great for the beginner and also for the advanced user that is trying to squeeze every last drop out of their system. Now, I’m not going to go into overclocking or anything that advanced in this guide, but I do have some tricks up my sleeve.
I have created three helpful resources for you on this topic. They are all similar, however have some different information in each. I have the 4 Step blog post below, the youtube video for visual people and the podcast, for the people that are on the go.
Let’s get started!

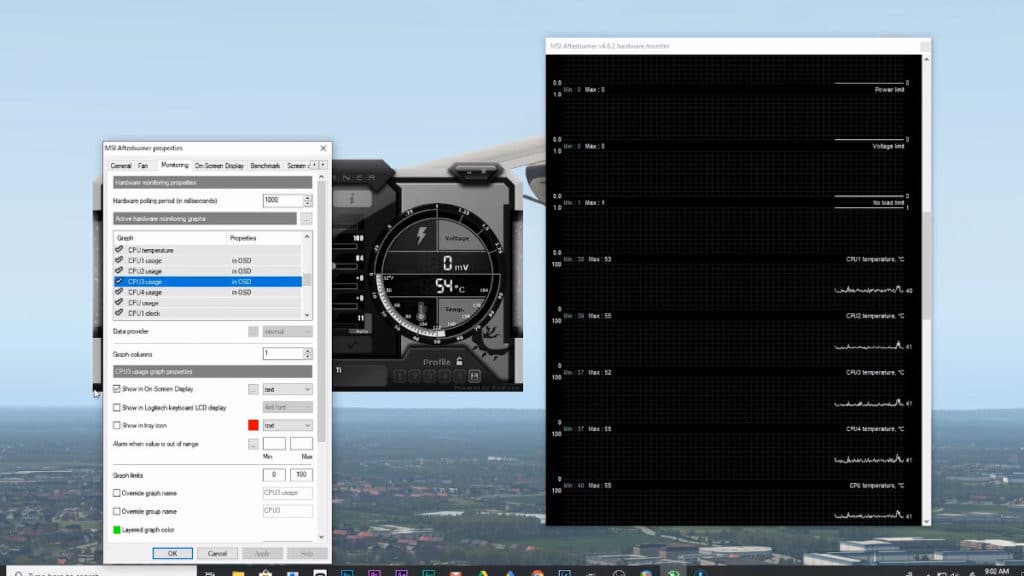
Find a program that can monitor your system for GPU, CPU usage and temperature. This is important in order to determine where you are losing your performance. One program that I have used is Afterburner . This program is completely free and shows all the relative stats, such as temperature, usage, ram and vram.
Here is the link to After Burner . You can also use this program to overclock your GPU to get a bit more out of your Graphics Card. Just be careful doing this because it is an easy way to wreck your GPU if you don’t do things right.
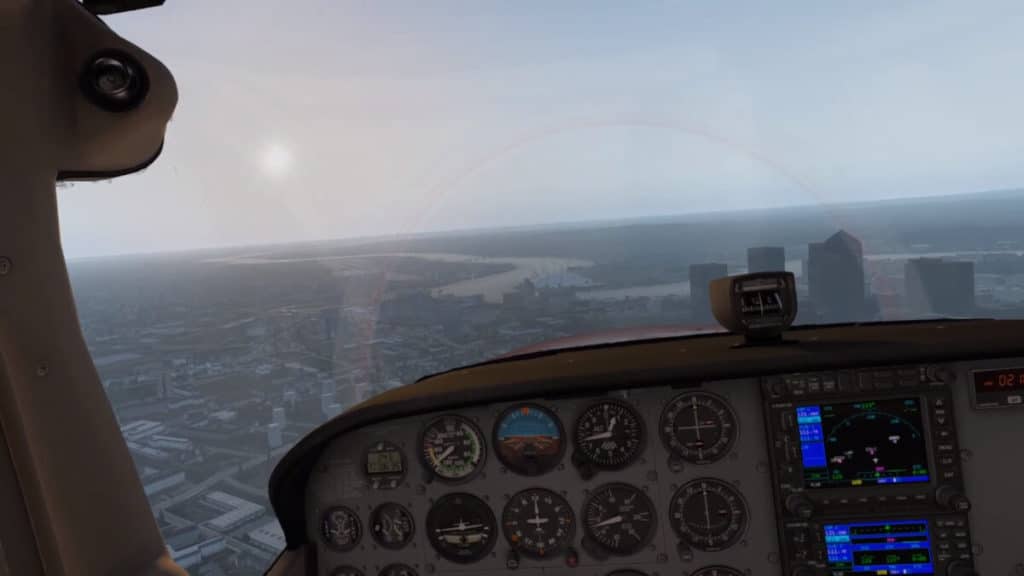
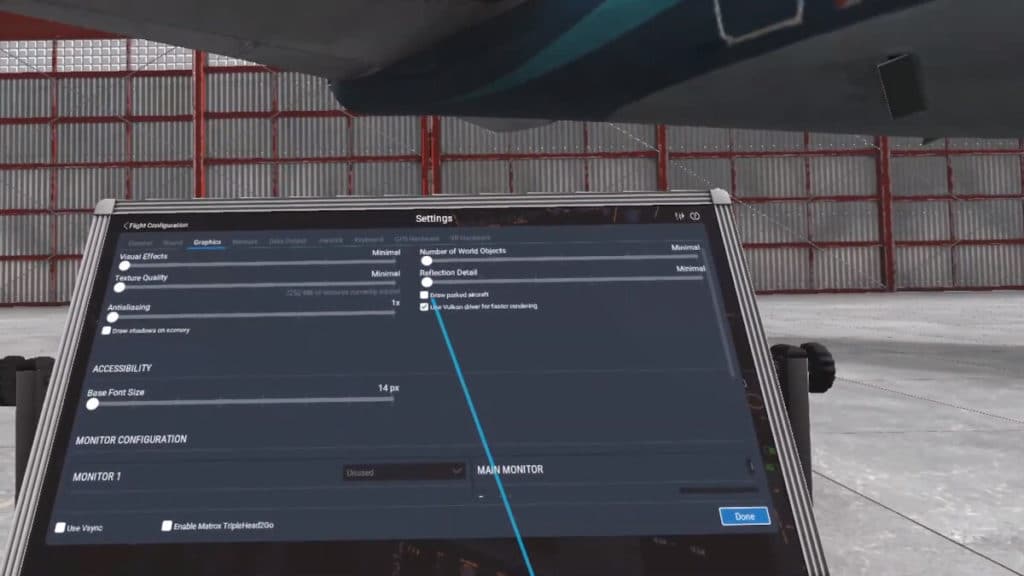
First thing you need to do is create yourself a baseline. I like to bring down all my settings to bare minimum. This includes turning off the AI aircraft. So crank down all the settings in your graphics area and restart your simulator. If you have any aftermarket plugins that are adjusting your graphics, make sure they are as close to the base as you can get them. You can even start without VR if you really want to see what your system is capable of before turning on your VR.
There are several ways that you can record your baseline. The best way will be to record your FPS. To see the frames per second when in VR, there are several different methods.
The simplest way with an Oculus Rift, is to cover the sensor near the forehead. This tricks the Oculus Rift into believing that you have the Rift on your head. This will allow your system to keep operating as if you are in VR. Then you can look at your monitor where you have your afterburner setup.
My favorite method is to install a simple plugin such as OVR settings for Oculus Rift users, or Twick for other headset users (more on these plugins later). In both of these programs you can show the screen in VR. It won’t show you the CPU and GPU usage, however it will allow you to see your FPS. It also displays this information in a line graph, which is really helpful.
Last method is to turn on the FPS within your sim, however it won’t display within your sim. You will still need to put your thumb over the sensor in order to see the FPS on your monitor.

In this step, it is important to know that we are not adjusting your sim wildly. This can be really tempting to save some time, but in the end it really costs you time. In order to get the precision you need to see the right results, you can only adjust one setting at a time. The process goes like this.
Simple right… but very tempting to adjust more then one. You will know what I mean after you wait for your sim to load multiple times.
After you get your result, it’s time to analyse what you have got. As briefly mentioned, there are many different metrics that you want to analyse. Here are a few that I watch.
For me, I like to run my system around the 70% to 80% range for the CPU and GPU usage if I can help it. This allows my system a bit of breathing room and keeps me from getting stutters. The temperature of your CPU and GPU will really depend on what you are running. Some like to run hotter than others, so do a quick Google search for your CPU and Graphics card and try to find out what temperature they run at.
After you have gone through the previous steps, it is time to repeat. Essentially you want to go through each setting, increasing things, one by one. You don’t want to go back to the baseline settings, however you do want to go back to where you had the best FPS. Then continue through the process with a new setting.
If your FPS stays in a good range, then you can proceed to increase the setting until you hit a range that affects your FPS. Back off that setting until it is back to a range that works without killing your FPS. Then move onto the next setting and test that setting. Increase that one until it affects your system FPS and back it off to a point where it worked perfectly.
There are a few plugins that I have recently installed on my sim. These plugins are Fly with Lua, OVR Settings, and VMI Twick. I have found the best results with OVR Settings, however you need Fly with Lua in order to install either OVR Settings or VMI Twick.
This plugin doesn’t necessarily improve your sim, however it is essentially the connector. It let’s you install OVR Settings and VMI Twick. So this is the first plugin that you want to install. It is easy to install, as you are just placing the file inside your X-Plane 11 plugin folder, however Fly with Lua has detailed instructions on how to do this.

This is my current favorite plugin. It allows me to do supersampling and adjust some other Oculus Rift settings from within VR in X-Plane 11. Now, if you are not an Oculus user, then this unfortunately won’t help you. I like to adjust my supersampling to at least 1.2 and sometimes as high as 1.5, however this is a huge draw on your graphics card, so keep that in mind when you play with it. I really find that having the supersampling on, gives me a better image and allows me to see things clearly, which has always been a big complaint in VR.
One other thing to try in OVR Settings, is to try if you are having trouble getting your settings just right, or maybe you want to bump up the settings further then normal. Try running your sim at a locked 30 FPS. This can be done right in OVR Settings. It is definitely worth trying.
This plugin is one of the more advanced plugins, as it really allows you to make fine adjustments in X-Plane 11. In this plugin you can adjust the density of vehicles, and aircraft. You can also adjust the distance in which the scenery and clouds are drawn. This can improve the sim if you get things set just right. It is also great for a more, “Real time” adjustment. As you can do these adjustments on the fly while in VR. This could work great if you are going from a small airport to a large airport. At the small airport, you could have your sim run as it normally would, however when you get close to the large airport, you could restrict the scenery to allow you to run smoothly, right into your landing.

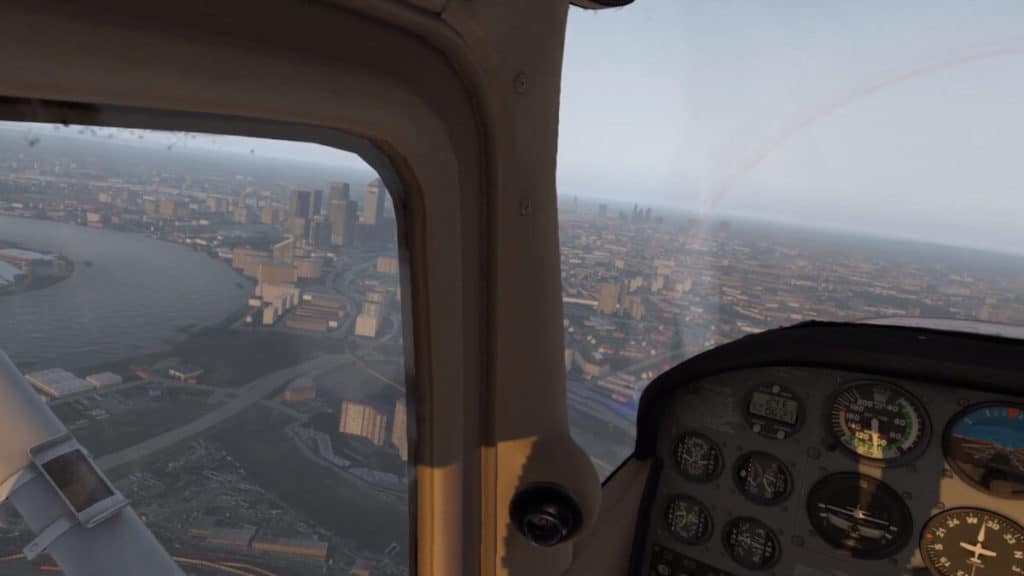
So in order to make this work, you need to Monitor your system, create a nice baseline, and start adjusting your settings, one by one. Then repeat this process until your sim is running to perfection. Make sure once you do all of this, that you take your sim for a good flight. Then make some adjustments with my plugin recommendations. This process works for me, so I hope it helps you.
If you want to keep on top of VR Flight, then sign up for my email list below or join our facebook community. Hope to see you there!
Also, if you are like me, then you not only want your sim to look geat, you also want to be able to fly your sim properly. Now, not all of us can afford to get in a real world plane a take ground school lessons, however we would love to do this. And some of us just don’t have the time to get up in the air but still want to have that real world advice. Or maybe you have tried to learn about flying, however every time you do, you fall asleep with the technical textbook style reading.
If that sounds like you, then you should take a look at Rod Machado’s book and training material. Not only is he entertaining, has a ton of experience as a flight instructor, super experienced real world pilot but he is also the voice from Microsoft FSX. It was one of the first sims that I dove deep into. This is where I started to develop my flying skills. I am now reading his books and diving into the information on his site and really love it. Now, the above link is an affiliate link, which means that I do earn a commision if you purchase with my link, however this doesn’t affect your purchase or price in any way. It just helps me to keep VR Flight World running at full speed. If you use my link, I really do appreciate it!
Keep flying and see you in the next one!